At the site, the wall will be chased for embedding electrical and plumbing conduits. Sometimes we alter the conduit, pipeline path which makes the whole wall rough and aesthetically unpleasant.
Contents of the Article
show
Purpose of Plastering
Plastering is the process of covering uneven masonry surfaces with a mortar and giving them a clean, smooth finish and durable surface.

It serves the purpose of
- It conceals defective works.
- It gives an aesthetically pleasing look.
- It provides a smooth and clean finish to the wall surface.
- It prevents water from penetrating from one side to the other side.
- It gives a plain surface for painting.
There are different types of plastering shall be done according to the requirements. Based on the area, the mix ratio and mortar thickness also differ, as mentioned below.
| Activity | Mix ratio | Thickness |
| Inner Wall Plastering | 1:4 | 15mm |
| Ceiling | 1:3 | 12mm |
| External Wall Plastering | 1:5 or 1:4 | 20mm |
Plastering Work Procedure
Preparation of Plastering Surface
- Ensure all the brickwork or blockwork of that area has been completed properly before plastering.
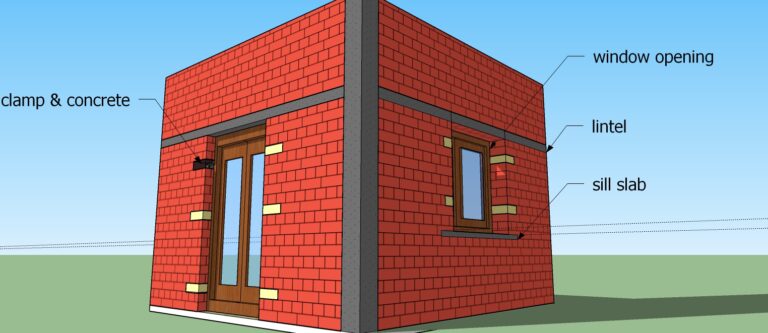
- Ensure the provision of window and door opening as per the architect drawing.
- Ensure that the provision of dummy space for electrical boards has been given & filled by sand.
- The plastering mesh should be provided at the junction of concrete and masonry.
- Ensure the finishing whether it is a smooth cast, lime finish, trowel finish, sponge finish and or roughcast.
- Must be known the thickness of plastering because if the plastering thickness exceeds 15mm, then it should be done as a double coat.
- Check the mix ratio of the mortar and estimate the required material and manpower for plastering.
- The button fixing should be done in proper alignment to avoid the undulation.
- The concrete surfaces should be hacked at least 80 to 120 per square feet before plastering. It helps with proper mortar adhesive with the concrete surface.
Checks during plastering
- The masonry surface should be wet before applying the plaster to avoid the absorption of water from the mortar.
- The mortar should be prepared by using the measuring box with a proper water-cement ratio.
- The cement mortar should be utilized within an hour after mixing.
- Ensure proper finishing and space provision for the electrical points such as DB box, fan box, and junction box.
- Ensure the provision of groove or beading as per the drawing if any.
- Proper finishing is required without any undulation on the wall. So check the evenness of the wall by a lamp or yellow beam light.
- If you pass the light beam from below to the top of the wall, plastering it obstructs if any undulation is on the wall and should be so rectified immediately.
Internal Plaster
- Check the space provided for fixing the skirting tiles.
- In the kitchen area, rough finishing is required on the wall surface to fix the dado tile.
- In the same way, rough finishing is required for the toilet and bathroom for fixing tile.
External Plaster
- Mostly in external walls, groves or beading will be provided for aesthetic purposes. So ensure that it has been provided or not.
- The external wall thickness is 20mm, so it should be applied in a double coat (12mm and 8mm).
- Use the spirit level for checking the undulation if any.
Care to be Taken After Plastering
- Different types of curing methods are available. After completion of plastering work, the wall should be cured by any one practice.
- Ensure the removal of button mark tile.
- The mortar wastage which is peeled on the ground should be removed after completion of plasterwork else in future we have to remove by chiseling.
The sample plastering checklist format (PDF) has been attached here – Download.
Happy Learning 🙂


